

How To Install Curtain Lights
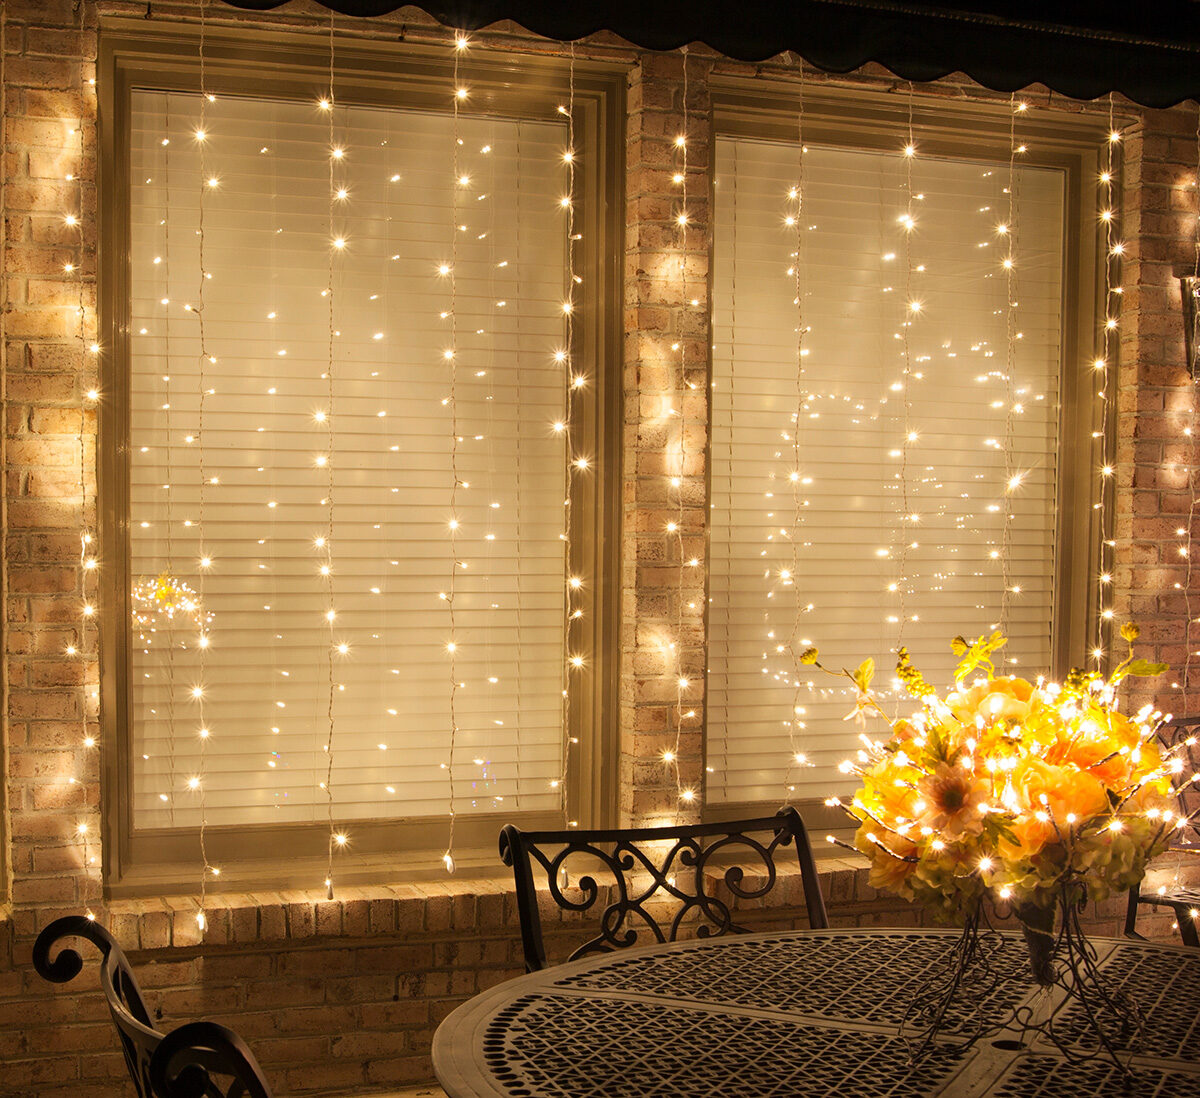
LED Mini String Light Curtains
Earth Cord Light Defunction
If your mind isn't already racing with all the possibilities for where and how yous can accept your own shimmering wall of cord lights, we have a few ideas we want to share!
Where to Hang DIY Curtain String Lights
- Sleeping room
- Entryways or Doorways
- Arches
- Gazebos
- Weddings & Social Events
- Baby Shower (blue lights for male child, pinkish for girl!)
- Photograph Berth Backdrop
- Hanging as Window Curtains
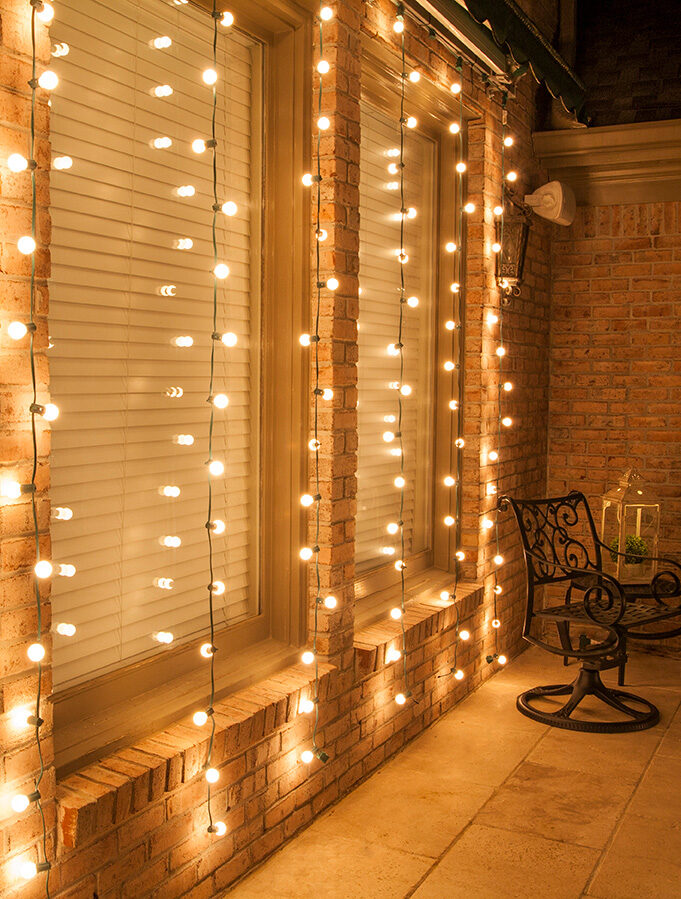
- Porch or Covered Deck
- Indoor or Outdoor Bar
- Altogether Party
- Halloween Haunted Firm (use royal, orange and dark-green light strings!)
Ready to start on your DIY curtain lights journey? Our adventure begins with the fundamental to perfect curtain lights: symmetry. To achieve symmetry, we'll create a power source to plug all those lights in beyond ane direct line.
How to Make DIY Curtain Lights
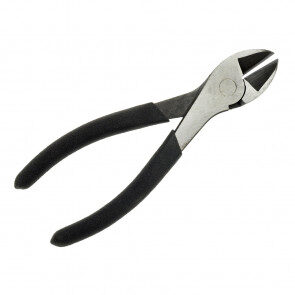
Wire Cutters
*SPT1 & SPT2 betoken insulation rating. Always select zip plugs to match the insulation for your wire. For example, if your wire is rated SPT2, then your cypher plugs should also be rated SPT2. Click here for more on wire insulation.
Make a Drapery Light Power Source Using Zip string Wire & Inline Nil Plugs
Install Your Ability Source
-
Attach your power source to your hanging surface. The awning we used had a sturdy metallic bar running the length of information technology, so we secured our wire to the bar using zip ties. If the area you are hanging your DIY curtain lights does not already have a natural support for your wire, consider cut a slice of wood to the length yous need or find a metal bar to provide back up for the weight of your wire, plugs and hanging string lights.
-
Plug in your low-cal strings! It's time to choose your chance; will you lot employ standard string lights or will you lot make your ain? In one version of our projection we used 8 human foot long strings of LED lights. Notwithstanding, if yous'd like to employ larger bulbs or customize your curtain light colors, y'all can create your own low-cal strings by cutting existing strings to the exact length you lot need and calculation plugs to the ends. Click here or scroll down to find out how we fabricated our ain DIY string lights with earth patio bulbs.
LED Mini Low-cal Defunction
DIY Cord Low-cal Defunction
Create Custom DIY Light Strings
So you decided to keep your journeying with a custom light blueprint in mind? Welcome! Earlier we dive correct into this, there are a few helpful hints y'all should know about light strings and zip plugs.
Light strings and spools can exist found in lengths ranging from 15'-1000' and can be cut to custom lengths. For our project we needed 7 light strings measuring 8 feet long. We selected two 50 foot SPT2 calorie-free strings with 6 inch spacing between each socket. Each 50 pes light string could be cutting into 6 8 pes pieces, which was more than plenty, merely it'south always good to have a little extra just in case! We chose vi inch socket spacing because we planned to use small G30 world lights, nevertheless if you are using larger G50 or C9 bulbs, 12 inch spacing may exist preferred.
When choosing your lite strings, you may notice they are identified by a serial of numbers and messages: SPT1 or SPT2. This notation refers to wire insulation which is an important consideration, especially when planning longer term lighting installations. SPT1 wire is the standard for moderate to normal light usage, while thicker SPT2 wire insulation supports higher wattage bulbs and provides meliorate protection against the elements, particularly in regions with extreme weather patterns and temperatures.
For this project, wire insulation is too important because you volition need to lucifer the insulation of your goose egg plugs to the insulation of your wire. Our light strings were created using SPT2 wire, then we made sure to utilize SPT2 rated male and female zip plugs as well. If you lot choose non to place a female nothing plug at the end of your wire, you volition need to securely wrap the cease with electrical tape and brand sure no wires are exposed.
In improver to lite strings, light bulbs, naught plugs and electrical tape, you will likewise need something very abrupt to cut the wire, nosotros found that wire cutters work best.
How to Make DIY Cord Lights
-
Measure and cutting your wire to match the vertical length needed for your curtains. Leave enough wire on the ends to attach your zip plugs. We cut our l foot strings into half-dozen 8 foot sections, each section had 16 sockets.
-
Install a male goose egg plug on one end of the wire. Click here or scroll down for complete instructions on how to install a zip plug.
-
Install a female person terminate plug to the opposite end of the wire following the same steps you used for the male plug or wrap the exposed end securely with electric tape.
-
After you've installed your zippo plugs and wrapped any exposed ends, insert a bulb into 1 of the sockets and plug the male person nada plug into a nearby outlet to check that your wire is working. Then unplug the wire, unscrew your bulb and echo the steps above to create your remaining lite strings.
Zip Plug Installation Guides
How to Attach Male person & Female End Plugs
- Slide the bankroll off of your zip plug, annotation that information technology volition merely slide on and off one way.
- Look inside your nix plug and locate the two "vampire teeth" set downwardly into the channel that runs along the length of the plug. These teeth pierce the cord when the plug is assembled to connect to electric current. Note that these teeth are non aligned. 1 of them is continued to the wide prong or receptacle; the other to the narrow.
- Side by side, accept a close look at your electrical string. Y'all may find that it's actually 2 wires side by side. Ane wire has a slightly raised "rib" along its edge (you may have to feel for it). This is the neutral wire which maintains polarization of the electrical current. The ribbed border, or neutral wire volition connect to the broad prong or receptacle we took note of in the step above.
- Using wire cutters or a precipitous knife, gently split the finish of your zip string to split the ii wires, pulling them autonomously to a length of a quarter- to a one-half-inch.
- Align the ribbed wire with the vampire tooth that's connected to the wide blade or receptacle of your plug, printing the end of the electrical cord downwards into the well that runs forth the airtight finish of the plug. Note that the plastic divider downward in the well should separate the divide ends of your electric cord.
- Now curve the electrical cord over and lay it into the channel that runs the length of your plug. The electrical string volition lay across the vampire teeth and may demand to be gently pressed into the aqueduct.
- Slide the backing onto the plug again. You may need to use some pressure or pliers to make it shut completely. Equally you slide the bankroll on, information technology will press the electric string firmly onto the vampire teeth, securing the connection.
Click here to jump dorsum to creating a Drape Lights Power Source.
Click here to spring back to creating DIY Cord Lights.
How to Adhere InLine Zilch Plugs
- Slide the backing off of your inline plug.
- Inside the plug you will see two metal prongs or "vampire teeth." Note their orientation to the polarized receptacles of the plug. Correct polarization must be maintained with inline zip plugs same equally with male person and female.
- Align the ribbed wire with the vampire tooth that'southward continued to the broad receptacle of the plug and lay the electric string into the plug.
- Slide the bankroll onto the plug again. Note how the inline zip plug'south special blueprint allows the electrical string to pass through the back and come up out both ends.
Click here to jump back to creating a Pall Lights Power Source.
If you're reading this, that means yous've reached the end of this take chances and should exist feeling pretty accomplished and impressed by all you lot've learned and created. Now that we've taken this journey through creating DIY curtain lights together, nosotros would dearest to see your finished work! Send us your curtain lights photos in the comments or tag usa on Instagram or Facebook, and if you really liked this post, share it with your friends as well!

Source: https://www.yardenvy.com/diy/curtain-lights
Posted by: duetwidell.blogspot.com
0 Response to "How To Install Curtain Lights"
Post a Comment